Saturday, June 27, 2009

House Sitting, and a giveaway!

I've been house sitting for a friend of mine while she is out of town. Been feeding her kitties, watering plants, and driving her car (woot!). Since she lives by campus that means I've gotten to get in the studio and make stuff. :D I can't wait to post the mugs I've been making. Anywho,

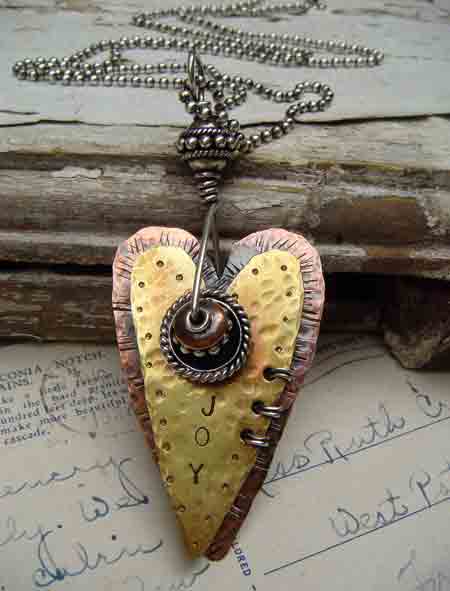
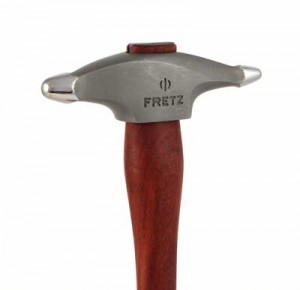
There's a fantastic giveaway at Sweet Bead Studio where you can win these awesome prizes:


I especially want that hammer *drool*. Go enter! I have some pretty pics to post but I'm procrastinating. Also, YESTERDAY WAS MY 25TH BIRTHDAY!!! YAY ME! :D
See ya again soon!


Wednesday, June 17, 2009

Ceramic pod pendants are back. Also, vote for me!

I'm uploading some more of my ceramic pod pendants this evening. So far just one is up but there will be a few more shortly.
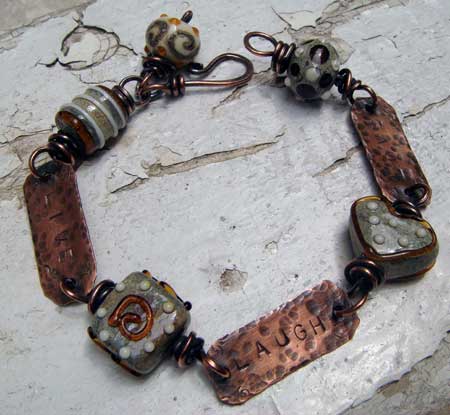
I've entered n "Etsy worthy" photo contest over at Timothy Adam's blog and would be soooo grateful if you all voted for my photo. The direct link to vote for me is right here. And the link to the whole contest is right here. This is the photo I entered:


Thank you so much if you vote for me. Also if you are going to enter it yourself let me know! I'd love to vote for you too. :D

Tuesday, June 16, 2009

Post storm walk

I walk around my block just about every evening an hour or so before dark for exercise and the peacefulness of it. Living in the country right outside of town is nice and full of birds chirping and cows mooing and taking my walk is my favorite time of the day. I go around the block 4 times which is apx 3.2 miles.
A couple of weeks ago a storm had just cleared and the clouds and atmosphere was amazing. I wish I would have gotten my camera out sooner, but I still managed to get some pics of my walk that evening.


There was another, closer, larger cloud like this before I grabbed my camera that had a striking resemblance to a giant pie. :9


LOVE those huge post-storm cumulus clouds.


I don't walk up the dirt path, it's 'no trespassing' territory. But I'm quite curious to see whats up there. I think I'll Google earth it later, haha.


I wish you could see the fog rising up from the street in some of these photos.


Ipod cord :9


I hope there are many more moments like this as the summer progresses, and that I can get some more shots to do it some justice.

Thursday, June 11, 2009

Huge bead givaway at Silverparrotdesigns blog!

Check out the huge bead giveaway from silverparrotdesigns! She's giving away a huge box of destashed beads to a lucky winner.


That box is overflowing! And look at these beautiful genuine emerald beads.


Go check out her blog and get in on this. Or don't, cause then I have a better chance of winning, haha. XD

Wednesday, June 10, 2009

Better luck next time

So I participated in Kentucky's 400 mile sale which was Wednesday through Sunday. But the first two days it rained (Thursday was freezing!) so there wasn't that much traffic until Friday. And there was apparently at least two other big events going on in town that prevented the sale from attracting as much people as it usually does also. This is supposed to be fixed next year so maybe I'll have better luck then. Also the economy doesn't help at all. And the fact that I had never even heard of the 400 mile sale until this year and even though it's labeled as mainly 'antiques and collectibles', it's mostly yard sale type of stuff. I was about the only art/craft type booth there. I only made back half of my booth fee. :( But at least I thought my little table was nice looking, and I got a lot of compliments on my things. Several people took down my Etsy address also. Here's what my table looked like the first two or three days. eventually I had some batiked silk scarves hanging all around and I also strung some pendants of mine up on a branch I found down the street that I suspended from the top inside of the tent. It was very pretty. :D

Clcik these for a better look. I painted my own sign. It looks kinda messed up here because it's before I had it hung on the bars of the tent instead of stretched. also when the weather improved I rolled up the two front corners of the tent to make more room for people to view my goods.


Who is that cutie in the chair? :D haha That vase is made by me and I had planned on selling it, but I need to fix the places where some of those feathery parts have gotten chipped off first.


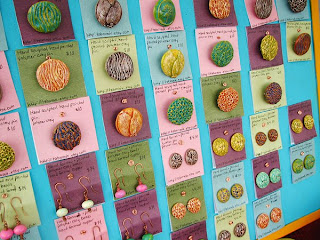
I've started putting these in my shop. although they will be $12, not $10. I always make things a little bit cheaper at shows like this because I get afraid that people around here will think I charge too much (even though I'm usually undercharging) because they usually don't understand the work that goes into these things.
Painted my own cork board and cut the backs these are pinned to from scrapbook paper.


I made that bracelet holder from the Styrofoam you get by the fake flowers, dowel rod, and some fabric.


Hopefully I'll start having some luck at these sort of things soon! At least I got some funnel cake! haha

Tuesday, June 9, 2009

Paper Macheing a Bust

I'm back from a long 5 day festival. Well, it wasn't really a festival, just a big sale, but I'll talk about it in the next day or so.
I'm finally going to post about how I made my own paper mache bust form, which was pretty successful. :)

Supplies: newspaper, flour, water, table salt, tape (preferably masking tape), and paint.

I took a bunch of free auto sales papers from IGA.


Start balling it up!

I didn't have masking tape at the moment, so had to settle with what I had. Notice the bite marks compliments of my dog Soup.


Start taping those balls together to begin the general shape.


This was the base. I would build up from here.


Keep going...

Finally got some masking tape! This makes it so much easier. Here you can see where I was beginning to form the neck and shoulders.


Skip ahead a little to see it really start taking its shape. I had trouble with boob placement, haha.


I ended up cutting off some of the bulk with a kitchen knife and tried again. In these pics it seems to look better the first time, but it's just the angle of the the photo.


Then on to the back.


And tape it up.


After taping it all up, I was ready to start adding the paper mache.


I looked up the recipe for this and it ended up being a lot simpler than I thought it was. Just flour and water! Some people may use wall paper paste, or elmers. I guess it's just a personal preference. I stuck to the basics. I read to add about a teaspoon or two of salt to the mix to prevent molding later on. Just mix the flour and water into a thick soup/thin paste consistency. Some like to measure it out certain ways but I try to keep things simple, haha.


After covering your strips one at a time with the goop and squeegeeing it a bit with your fingers, you can start applying them to your piece. I like how the middle of this says 'save money'. :D


I read not to use more than four layers. I guess it can get a little icky and mildew ridden if you put on too much since it may not dry properly. What I would do to dry it quickly was between a couple of layers, I would put it in the bathroom. Then I would blast my space heater in there with the door closed. It gets pretty sweltering in there when I do that, and it dries out really quickly.

Then you are ready to paint!


I painted mine white first to sort of prime it.


Then I painted it a soft yellow because I knew what necklace I was going to put on it, and I thought it would look nice. I think a nice maroon would have looked good too, but my table was going to be maroon and I wanted it to stand out. Plus I had more yellow and white paint than red. :9

This was the finished product on my table! Looks pretty nice. :) I do think my neck is just a litle too big though, but not a big deal.


Those boxes you see I painted myself also. I was going to include them with certain necklaces of mine but the sale didn't really go all that well. (I will more than likely put them in my shop this week) :/ I'll post about all that later though, along with more pics of my table.

Feel free to ask me any questions about my paper mache adventure. :)
  © Blogger templates 'Sunshine' by Ourblogtemplates.com 2008

Back to TOP